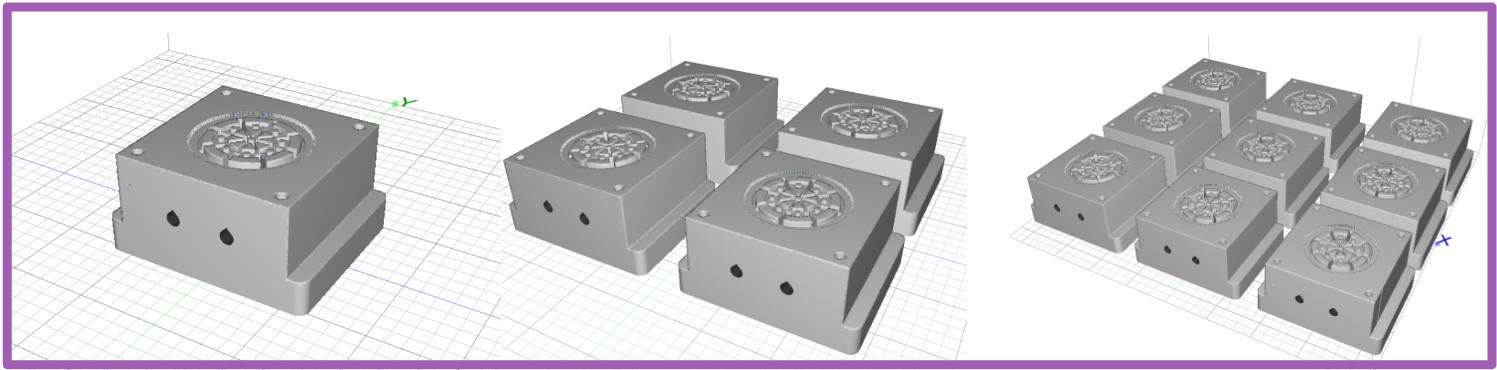
PRINT OPTIMIZATION GUIDES
V1.1 - November, 2023
INTRO TO PRINT OPTIMIZATION GUIDES
Our Print Optimization Guides are designed to reduce the time to ramp up and successfully integrate our technology into your business workflows while creating common knowledge amongst your team.
We distill our years of hands-on experience into these guides to help you understand advantageous ways to use our technology and to know when you’re taking calculated risks.
FINDING THE RIGHT FIT FOR OUR TECHNOLOGY FOR YOUR BUSINESS
Should I use Mantle for this part?
- Confirm the part size and general features fit within our advisable/recommended ranges
- Consider potential geometry changes that reduce risk, improve part quality, or improve print times
- Determine if there are cost or lead time advantages to using Mantle vs. conventional processes
- Factor in necessary secondary finishing operations, they could undermine initial cost + time savings
- Consider parts with cooling channels may not have time and/or cost benefits, but will have value through cycle time reduction
PRINT TIMES
Use Lava time estimates to understand the tradeoffs of simple vs. complex, small vs. big parts, and how that fits into your business model.
SECONDARY OPERATIONS
Secondary operations such as ejector pins, polishing, and finish EDM add to the total cost of producing parts with our technology.
PRINT TIMES
Incorporating conformal cooling can increase print times and cost, but it can reduce molding cycle times and improve molded part quality.
CONTENT IN OUR PRINT OPTIMIZATION GUIDES
Content will continuously expand, evolve and improve. We will regularly release new content and current information may be refined as we collect more data and complete more studies. The content is designed for you, so please offer feedback, suggestions and requests.
Type of content included:
- Expanded coverage of design guide
- Part geometry risks and tradeoffs
- Feature risks and tradeoffs
- Speed tradeoffs

DESIGN GUIDE INSIGHTS
Mantle’s Design Guide offers simple, digestible recommendations for acceptable characteristics of parts. This page highlights the nuance in those design recommendations and illustrates the boundaries representing risky regimes for specific features. The goal is to understand when parts and features are in a safe range or when there is a calculated risk before accepting and printing a part.
PART SIZE | 0.3” x 0.3” x 0.3” to 5" x 5" x 3”

Smaller parts may not have the green body strength and stability to withstand forces during cutting or sintering operations. On the other hand, larger parts that exceed the maximum weight of 8.15kg/18lbs could encounter significant friction during sintering, leading to reduced tolerances and potentially compromising the overall print quality. The plot above shows the preferred range of XY part dimensions
WALL THICKNESS | minimum 0.039” at 0.5° draft, max aspect ratio 10:1

Wall Thickness Aspect Ratio
Thin walls have low green body strength which makes them susceptible to damage from cutting forces and increased deformation during sintering, reducing part accuracy. As thin walls increase in height their rigidity also decreases, which amplifies these risks. Consider adding stock to critical features and post-processing final details.
MALE BOSSES | minimum 0.060” at 0.5° draft, max aspect ratio 5:1, max height at 2.0"

Boss Diameter Aspect Ratio
Male bosses are also vulnerable to damage from cutting forces and increased deformation during sintering. We are developing improvements for small features, which also define the aspect ratio limits. Add stock to critical features + post-process.
INTERIOR CORNER | minimum 0.003”

Interior corners can be cut with a 0.006” ball end mill, so a sintered corner is less than 0.003”. The default cutter is 0.020”, so for tighter corners, select 0.010” or 0.006” end mills. Print times increase with the small cutters based on the complexity and depth of features.
EJECTOR PINS | minimum 0.040" diameter

Hole Diameter Aspect Ratio
Ejector pins can be achieved with a small pilot hole to wire EDM the final ejector pin or by popping a hole as part of post-processing. Printing solid saves some print time and avoids the risk of dust accumulation as feature depth increases.
FLAT / THIN PART GEOMETRY | maximum 4:1 aspect ratio

Thin plates do not have enough mass to counteract forces generated during sintering that can curl the part. See the Flatness Design Guide for additional details and guidance for improving part flatness and part design risk.
TALL / SKINNY PART GEOMETRY | maximum 4:1 aspect ratio

Skinny, tall parts are at risk of falling over in the furnace, so consider adding a foot to the base for extra stability. We are optimizing process parameters to improve the consistency of the Z-shrink for tall, skinny parts, which will be included in a future release.
EXTERNAL CORNERS | minimum 30°

The edges on sharp corners have an increased risk of chipping or breakage because their thin profile doesn’t have enough green body strength for some cutting operations. Add stock to achieve a sharp edge through post-processing steps.
COOLING CHANNEL DIAMATER | diameter range of 0.080" to 0.300"

Cooling channels should be printed with 90° hats to prevent drips inside channels that could block flow. Larger diameter channels take longer to close, so keep them further from top surface features. Circular channels risk drips and poor interior surfaces.
COOLING CHANNEL LOCAL DISTANCE | minimum 0.200" from side and top, 0.400" from bottom

Distance from Side and Top Surfaces
Distance from Bottom Surfaces
Thin walls around cooling channels can introduce a crack risk during sintering. Ensuring a minimum wall thickness around cooling channels derisks parts. These distances are most critical for parts with complex, deep features and/or thin walls.
BENEFITS OF PRINTING MULTIPLE PARTS
If you want to optimize your printer's use, print multiple parts together when possible. This takes advantage of some steps that happen in every layer but not per part. Parts of different sizes and shapes can be printed together, but the most benefit is when they are around the same height.
CAPITALIZING ON PRINT PROCESS EFFICIENCIES

Some steps occur per layer, not part:
- Calibration
- Image capture
- Drying
There isn’t a limit on the total number of parts on a build plate, but we have observed process limitations with the total amount of machining time and SW ability to process multiple meshes.
We currently recommend limiting the number of complex parts printed together on a build plate.
TIME-PER-PART BENEFITS WHEN PRINTING MULTIPLES

It is advantageous to print multiple parts together, but there is a sweet spot in tradeoffs when balancing the number of parts you need and the risk of an error over a long duration print

GEOMETRY IMPACT ON PRINT TIMES
Print times are dependent on part geometries, but changes in length vs. height have different impacts. If you want to optimize how you use our technology, parts with heights smaller than their length or width will have more efficient print times per volume printed than tall skinny parts.
RELATIONSHIP BETWEEN PART GEOMETRY AND PRINT TIMES

Comparing different geometries:
Print times increase proportionally with height because each step is repeated for each additional layer.
Increases in length and/or width only marginally increase print times for equivalent volume increases.
Parts with a flatter aspect ratio are more efficient than tall, skinny parts with our technology.
GEOMETRY VARIATONS

Starting with a simple 2”x2”x1” geometry, we’ve stretched the part into different forms to show the linear and non-linear impact on print times.
You can print any shape you want, but minimizing a part’s z-height will help you use our technology efficiently.


SINTERED FLATNESS BY PART SIZE
Part length and thickness impact the expected amount of warp from sintering. This chart provides ranges of expected warp based on part size. Warp is one of the biggest contributors to dimensional tolerances and additional time spent post-processing parts. Changing part size may be worth the tradeoffs to reduce the warp and the resulting impact on post-processing.
EXPECTED PART FLATNESS BASED ON OVERALL PART SIZE
Estimating Expected Flatness:
To find the expected warp for a part based on its size, select your part’s length or width on the x-axis (whichever is larger) and the part’s thickness on the y-axis.
These dimensions should be for the bulk of the part, excluding small proud features. The warp of any part may be higher or lower than this guidance based on its specific geometry.
These flatness ranges apply to parts with a consistent base. Deep cuts and deep features can introduce additional warp.
EXAMPLE OF ESTIMATED PRINT TIMES VS. ESTIMATED FLATNESS

Parts with larger lengths and widths will experience more stresses during sintering, resulting in a higher magnitude of warp. Thicker parts can mitigate some of these forces, resulting in flatter parts.
Pick a part base thickness that balances estimated print times, estimated sintered flatness, plastic part requirements, post-processing time, etc.
This example shows there are diminishing returns for continuing to increase thickness.
GEOMETRY MODIFICATION TO REDUCE WARP
Sintering warp is one of the biggest contributors to actual dimensions being further from the intended dimensions. Part size and geometry are the biggest drivers in determining the amount of sintering warp, but those can’t always be changed. This study is in the exploratory phase, but we’re studying part geometry modifications that reduce the expected warp without changing the part size or function.
IMPROVE PART FLATNESS BY MODIFYING THE OUTER EDGE OR CORNERS

Methods to reduce sintering stress:
Parts experience stresses during sintering, which impacts the magnitude of warp. Some initial experiments have shown that modifying the outer edge can help mitigate the potential warp.
These are early exploratory studies, but we’ve seen success with adding a chamfer and by breaking up the corners. We are continuing to develop and better quantify these modifications across broader geometries.
CHAMFER AROUND PERIMETERS
Adding a 3 mm chamfer to this part's exterior edge significantly improved the top surface's flatness because it removed the stress concentration at the edges, which drives the sintering warp. This strategy will likely have more impact on thinner, flatter parts (vs. taller, bulkier parts)
MODIFY THE CORNERS
Some geometries can’t have a full chamfer around the perimeter, so we are looking into the impact of modifying just the corners and breaking up the outer edge. We’ve seen some very early indications that this can help, but we are working to study further the type of modifications and the extent of their impact.
DETAILED VS. FAST ADDITIVE CONFIGURATIONS
Mantle’s software automatically generates additive and subtractive toolpaths for your tooling, but allows users to select options based on their molding requirements. This guide describes the trade-offs between additive strategies for reducing part defects or reducing print speed.
TRADE OFFS BETWEEN DETAILED AND FAST CONFIGURATIONS

20-30% Print Time Reductions with Fast
Across various parts, ranging from small and simple (left) to large and complex (right), we’ve seen consistent 20-30% print time reductions with Fast.
Fast settings reduce the number of perimeter dispense and drying steps and increases the dispense feedrate.
Parts printed with Fast will have more observed surface defects that range in size from 25 - 75 µm (0.001" - 0.003”), which may be acceptable depending on the intended application and molding material.
PARTS FOR DETAILED CONFIGS
Detailed configs provide the highest-quality and reduces the occurrence of defects, particularly on vertical and sloped surfaces. This applies to small and fine features where defects along the edges are more likely to occur.
PARTS FOR FAST CONFIGS
Fast configs trade a higher occurrence of defects for print speed. Parts with simple, broad features are great choices for using fast configurations with minimal surface quality tradeoffs.
PLANNING AND INCORPORATING OVERHANGS
Because we are a paste extrusion-based technology, overhangs must be supported by a 45° feature. Based on the way we calculate toolpaths, we machine surfaces visible from the top of the final part. Undercuts, overhangs, and shadowed surfaces are left rough (as-printed). We are developing methods to machine these surfaces in the future, but they are still in the exploration and scoping phases.
EXPECTATIONS FOR UNDERCUTS, OVERHANGS, AND SHADOWED SURFACES

Machined vs. As-Printed Surfaces
The high surface finish on our sintered parts comes from machining steps throughout our printing process. Without this step, surfaces are left rough (as-printed) from the additive extrusion paths. The image to the right shows what to expect for rough vertical and overhung surfaces.
Add Stock to These Features
If these rough surfaces are critical, we recommend adding at least 0.020” of stock, allowing you to post-process the sintered part back to a smooth surface.

CAD OPTIONS FOR COMMON FEATURES WITH ROUGH PRINTED SURFACES
Shadowed Surfaces:
Vertical & horizontal surfaces tucked under an overhang are rough printed. Only surfaces visible from top of the part are machined. Counterbores are common examples.
O-Ring Grooves:
Based on your post-processing capabilities, select a CAD modification that makes sense for your specific application.
Hot Drops:
They create hollows during sintering and introduce some warp risk. Minimizing the open volume as much as possible reduces this risk, but creates more post-process work.